Peacock Manor and Fox & Butterflies Cross Stitch Finishes

I am so thrilled with how these two cross stitch pieces turned out! Two completely different colour schemes that I adore, they were so fun to come up with finishing ideas for.

Peacock Manor


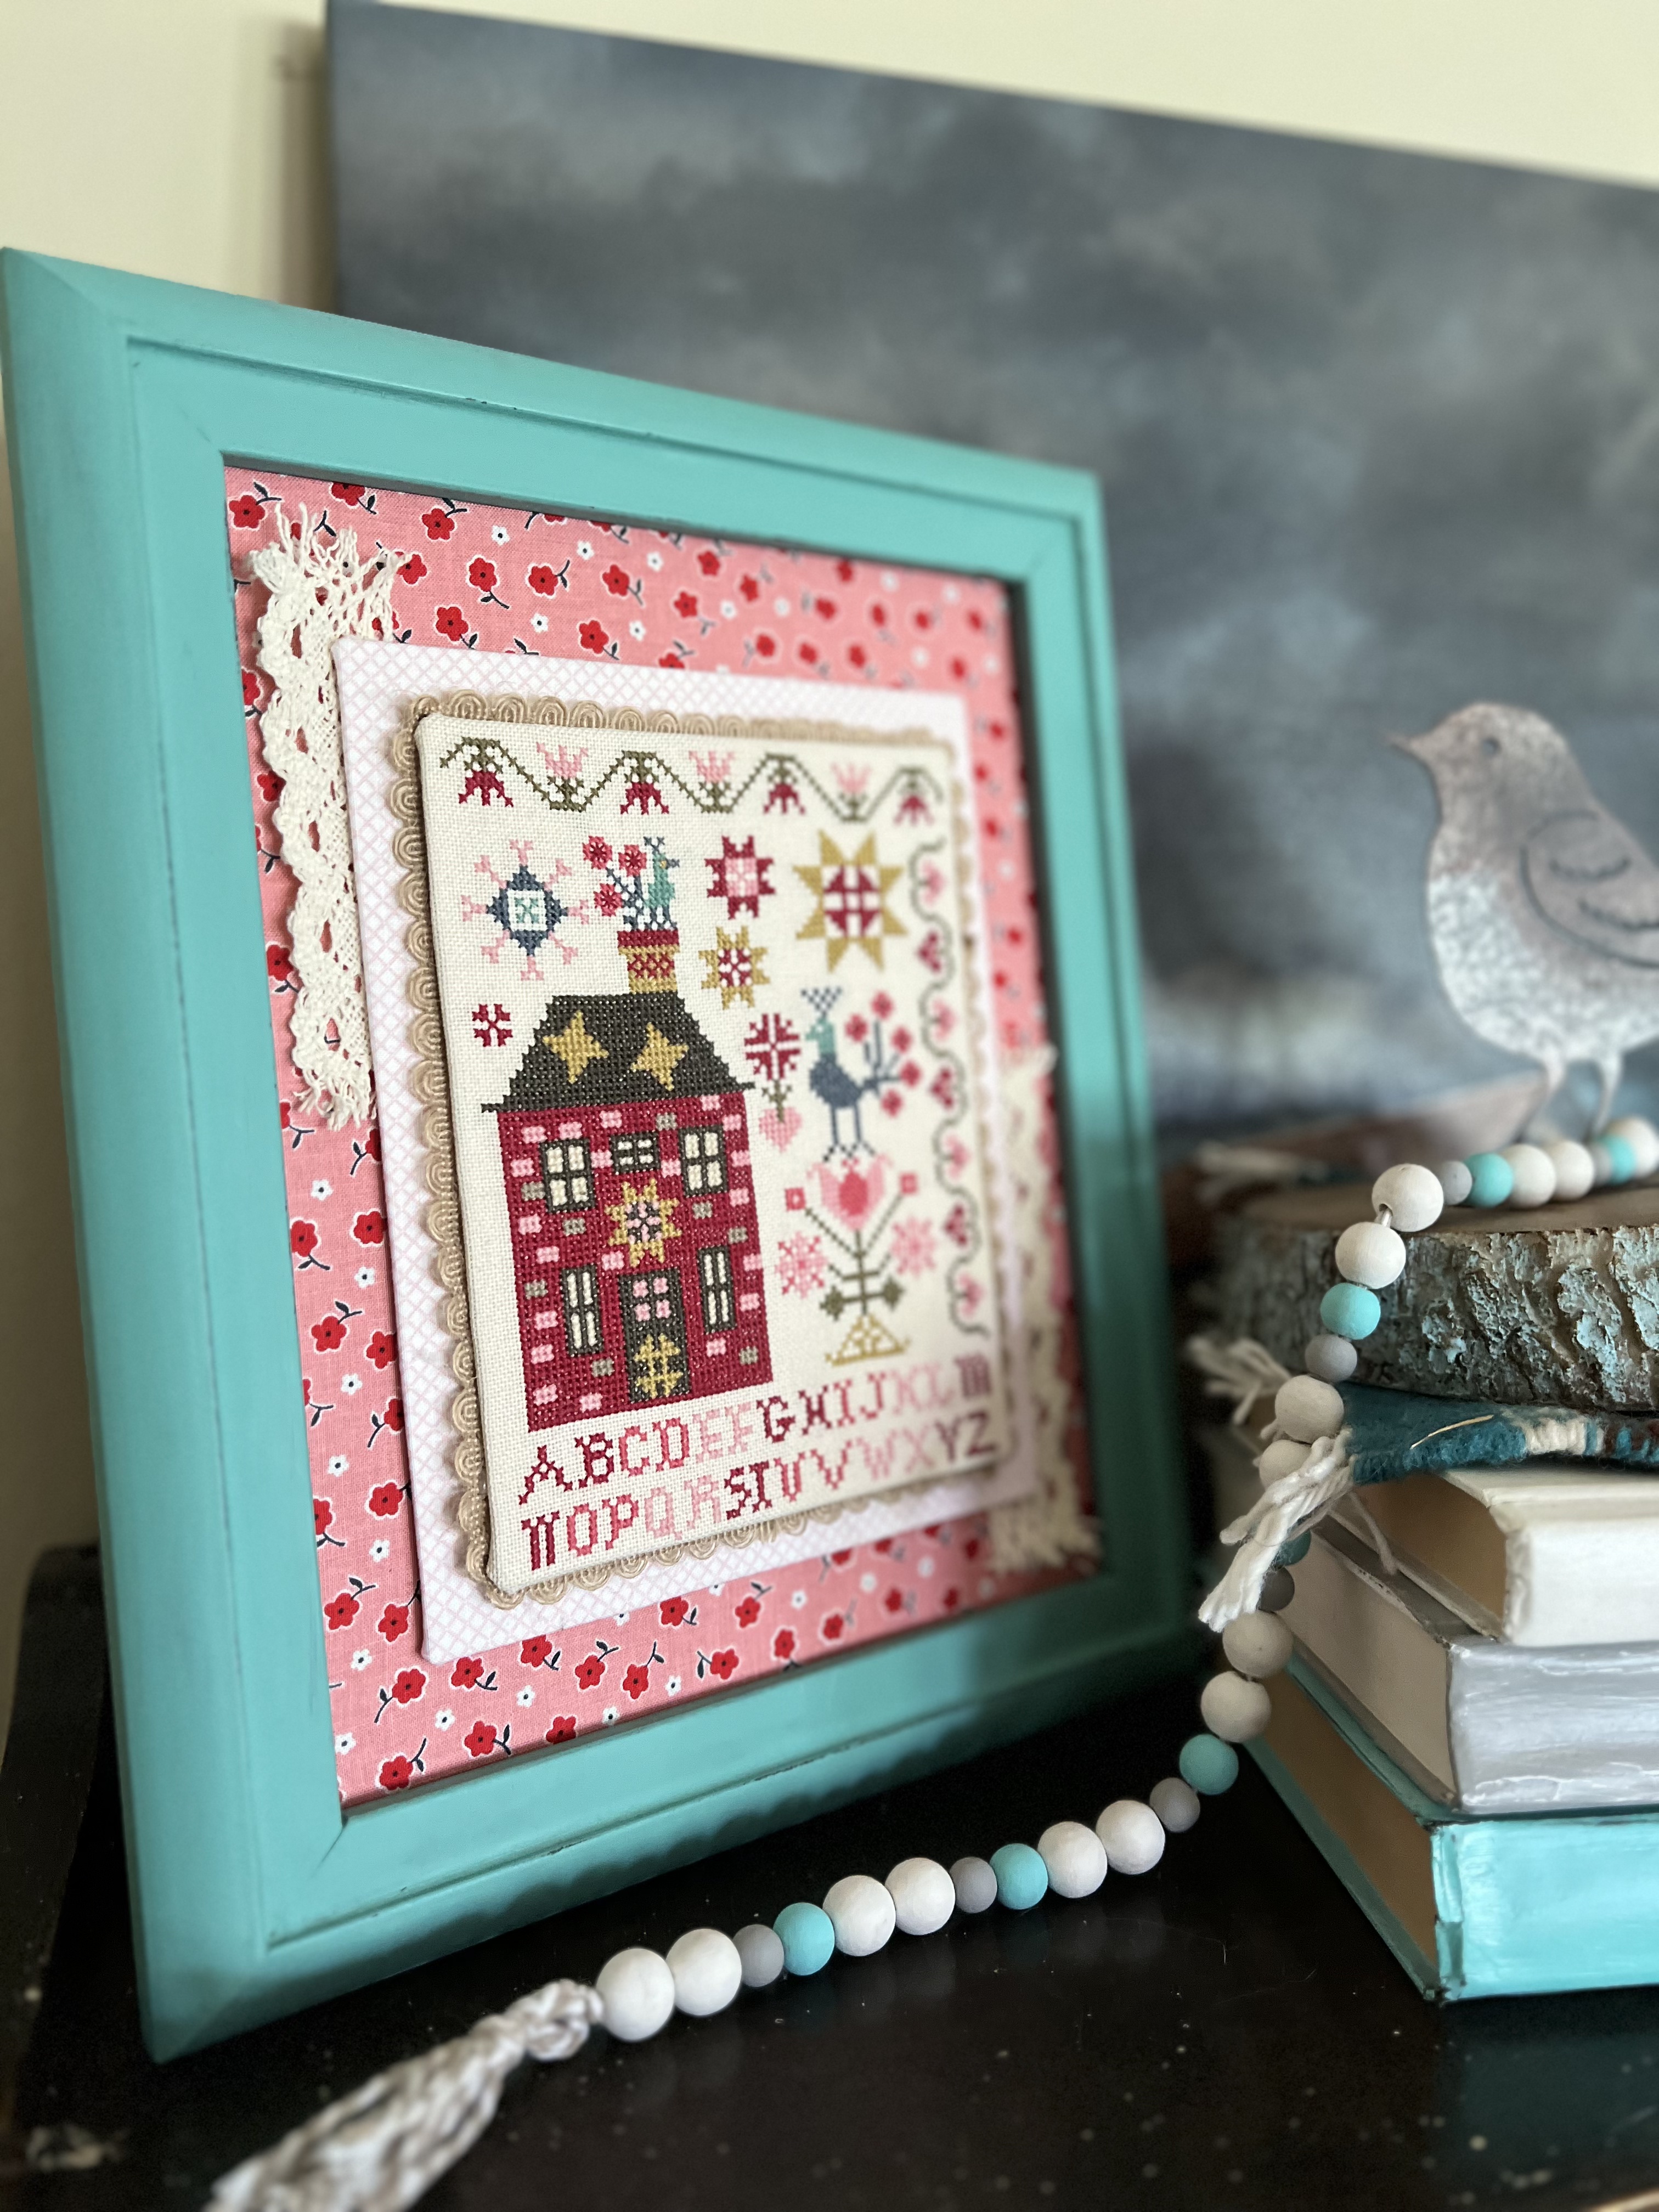
This beautiful little design was created by Pansy Patch Quilts and Stitchery and first came out in the June 2023 edition of Just Cross Stitch Magazine. I stitched it with the called for DMC threads on 32 count Vintage Country Mocha fabric.

I used an 8×10 frame from a Thrift Store and painted it with chalk paint, buffed it with a clear wax, and used a cloth to rub a little bit of distressing onto it.

I used sticky mounting board for the cross stitch and fabric layers. The cherry fabric I believe is designed by Lori Holt from Riley Blake Designs (not sure what collection) and the light pink I’m not sure what line it is from.

The creative process…it gets messy! I used trims from the Fall Trim Bundle from Michael’s to accent the piece. This trim bundle is well worth it’s costs, I highly recommend if you do any type of crafting.

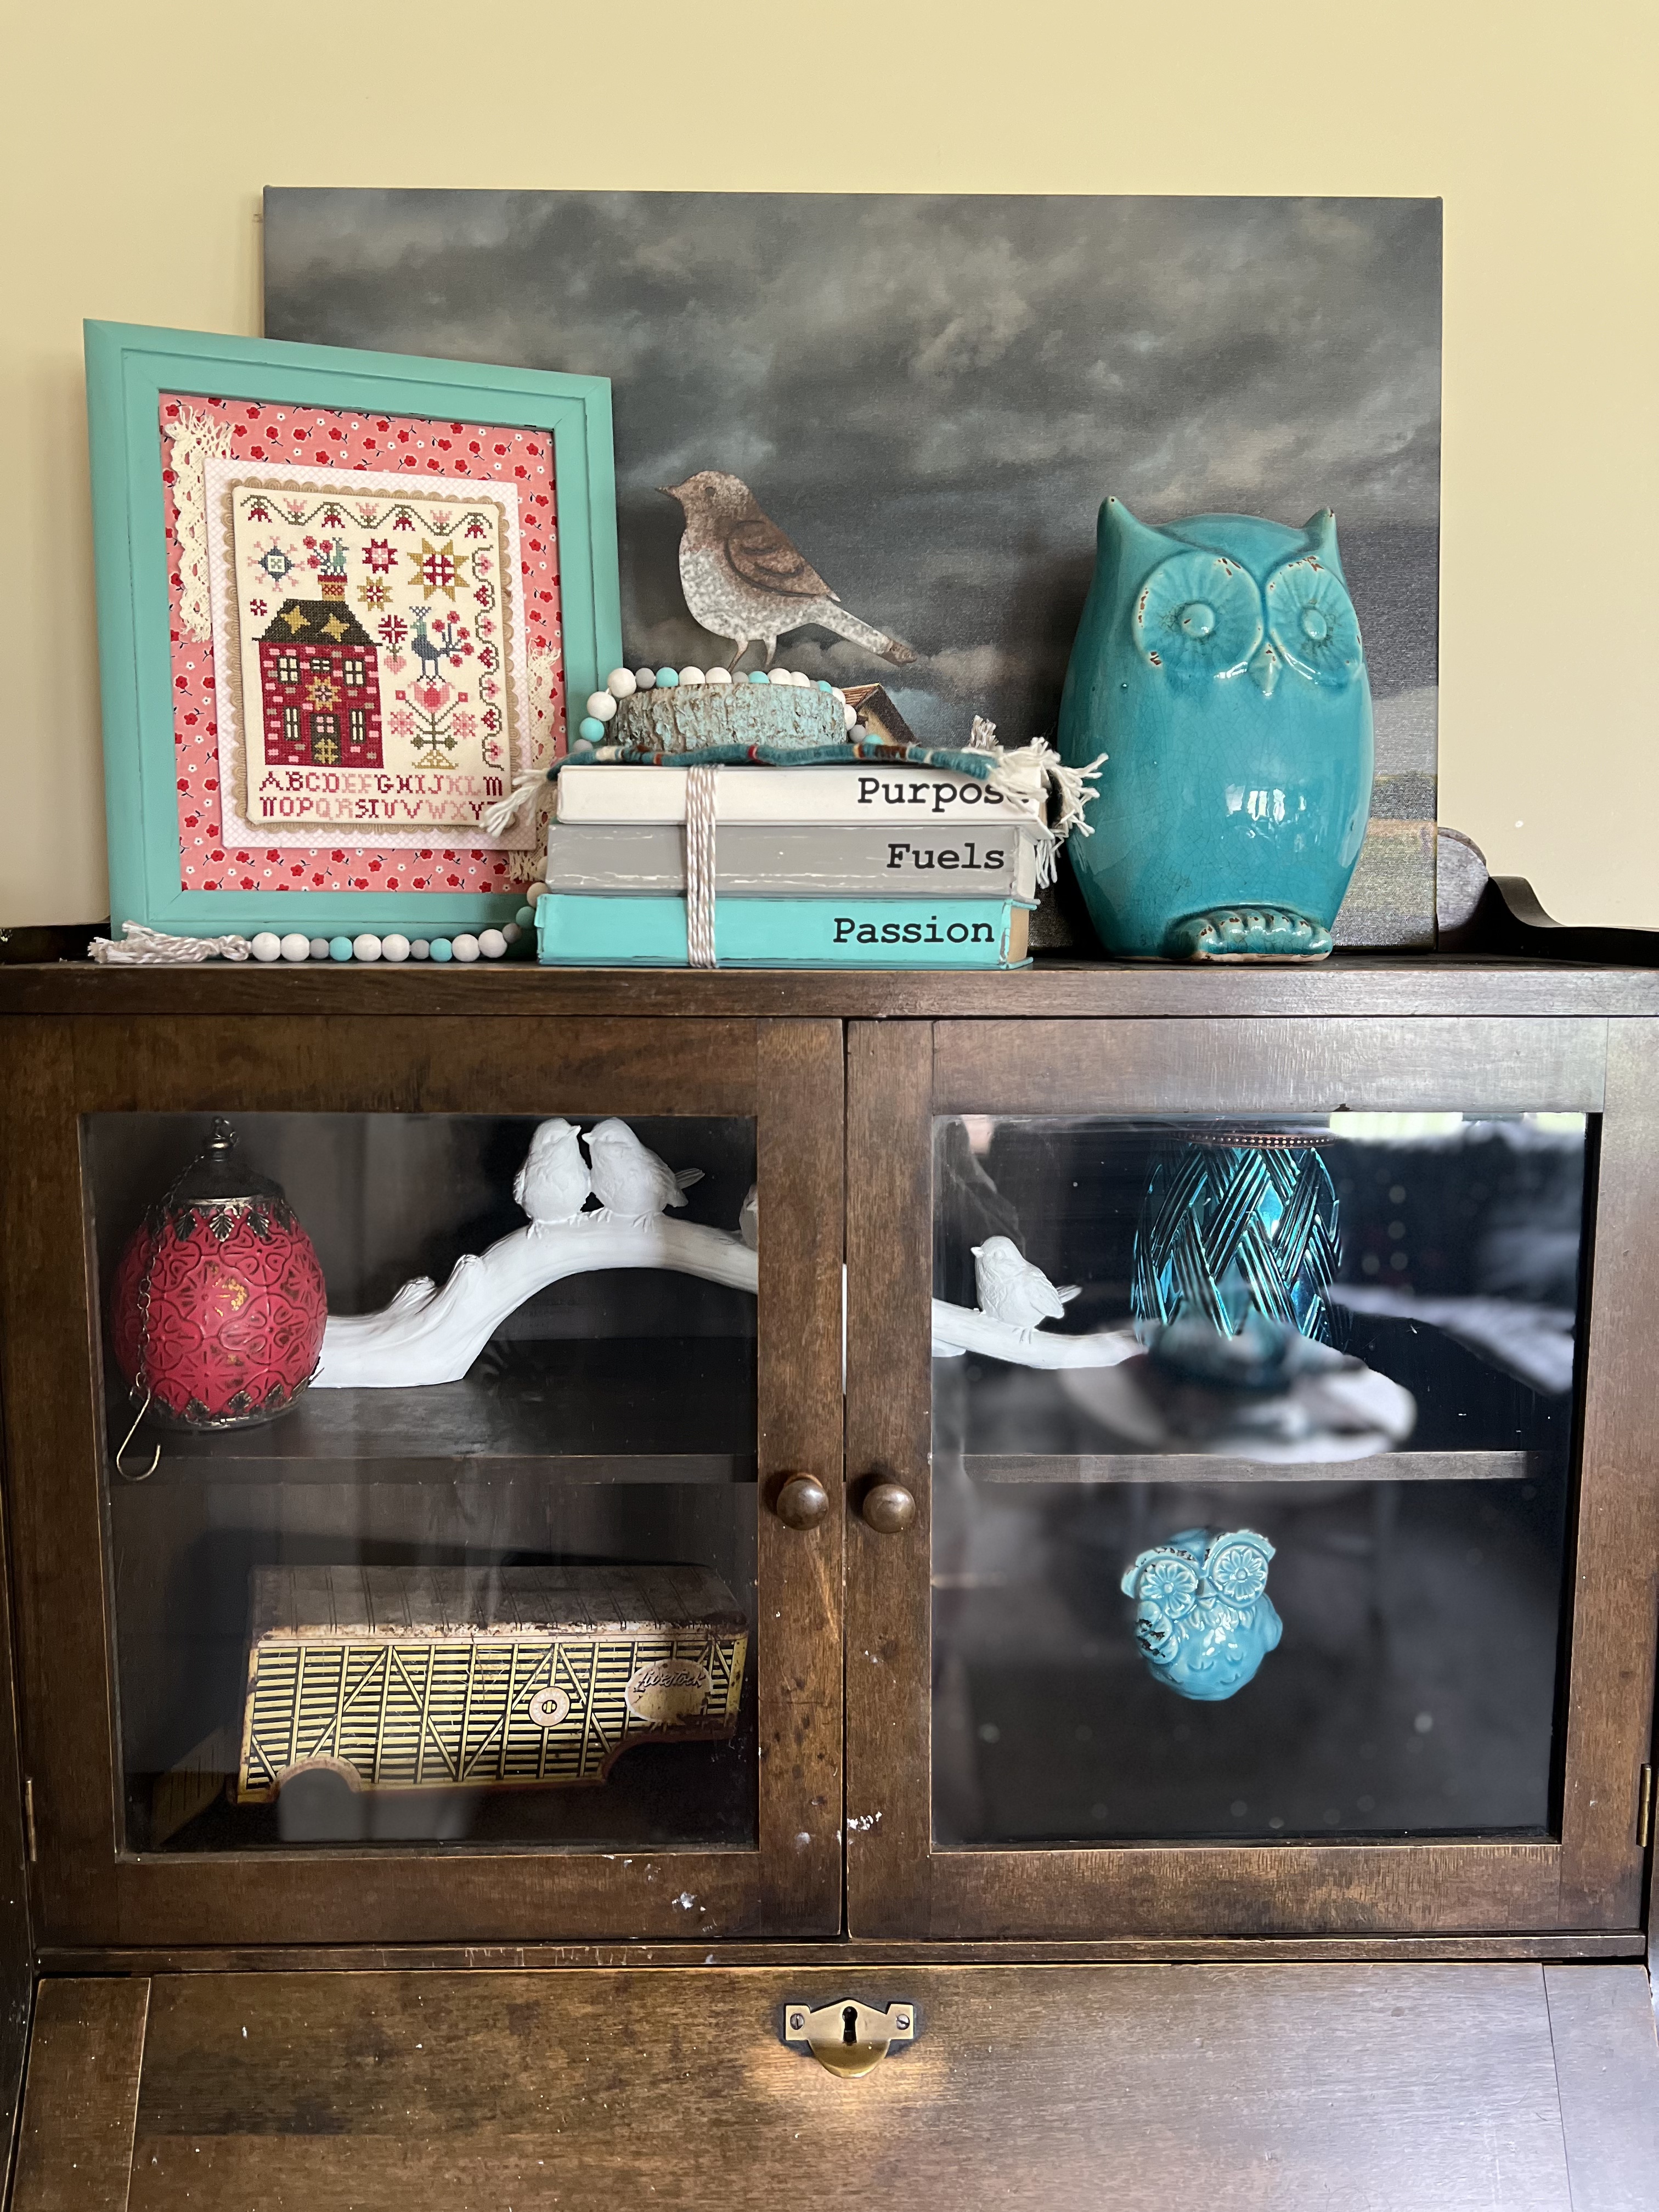
So happy with how it came together!

Fox and Butterflies

Fox and Butterflies is a sweet little design from Pigeon Coop Designs new book ‘Cross-Stitch in the Forest’. I stitched it with the called for DMC threads on 32 count Vintage Country Mocha fabric.

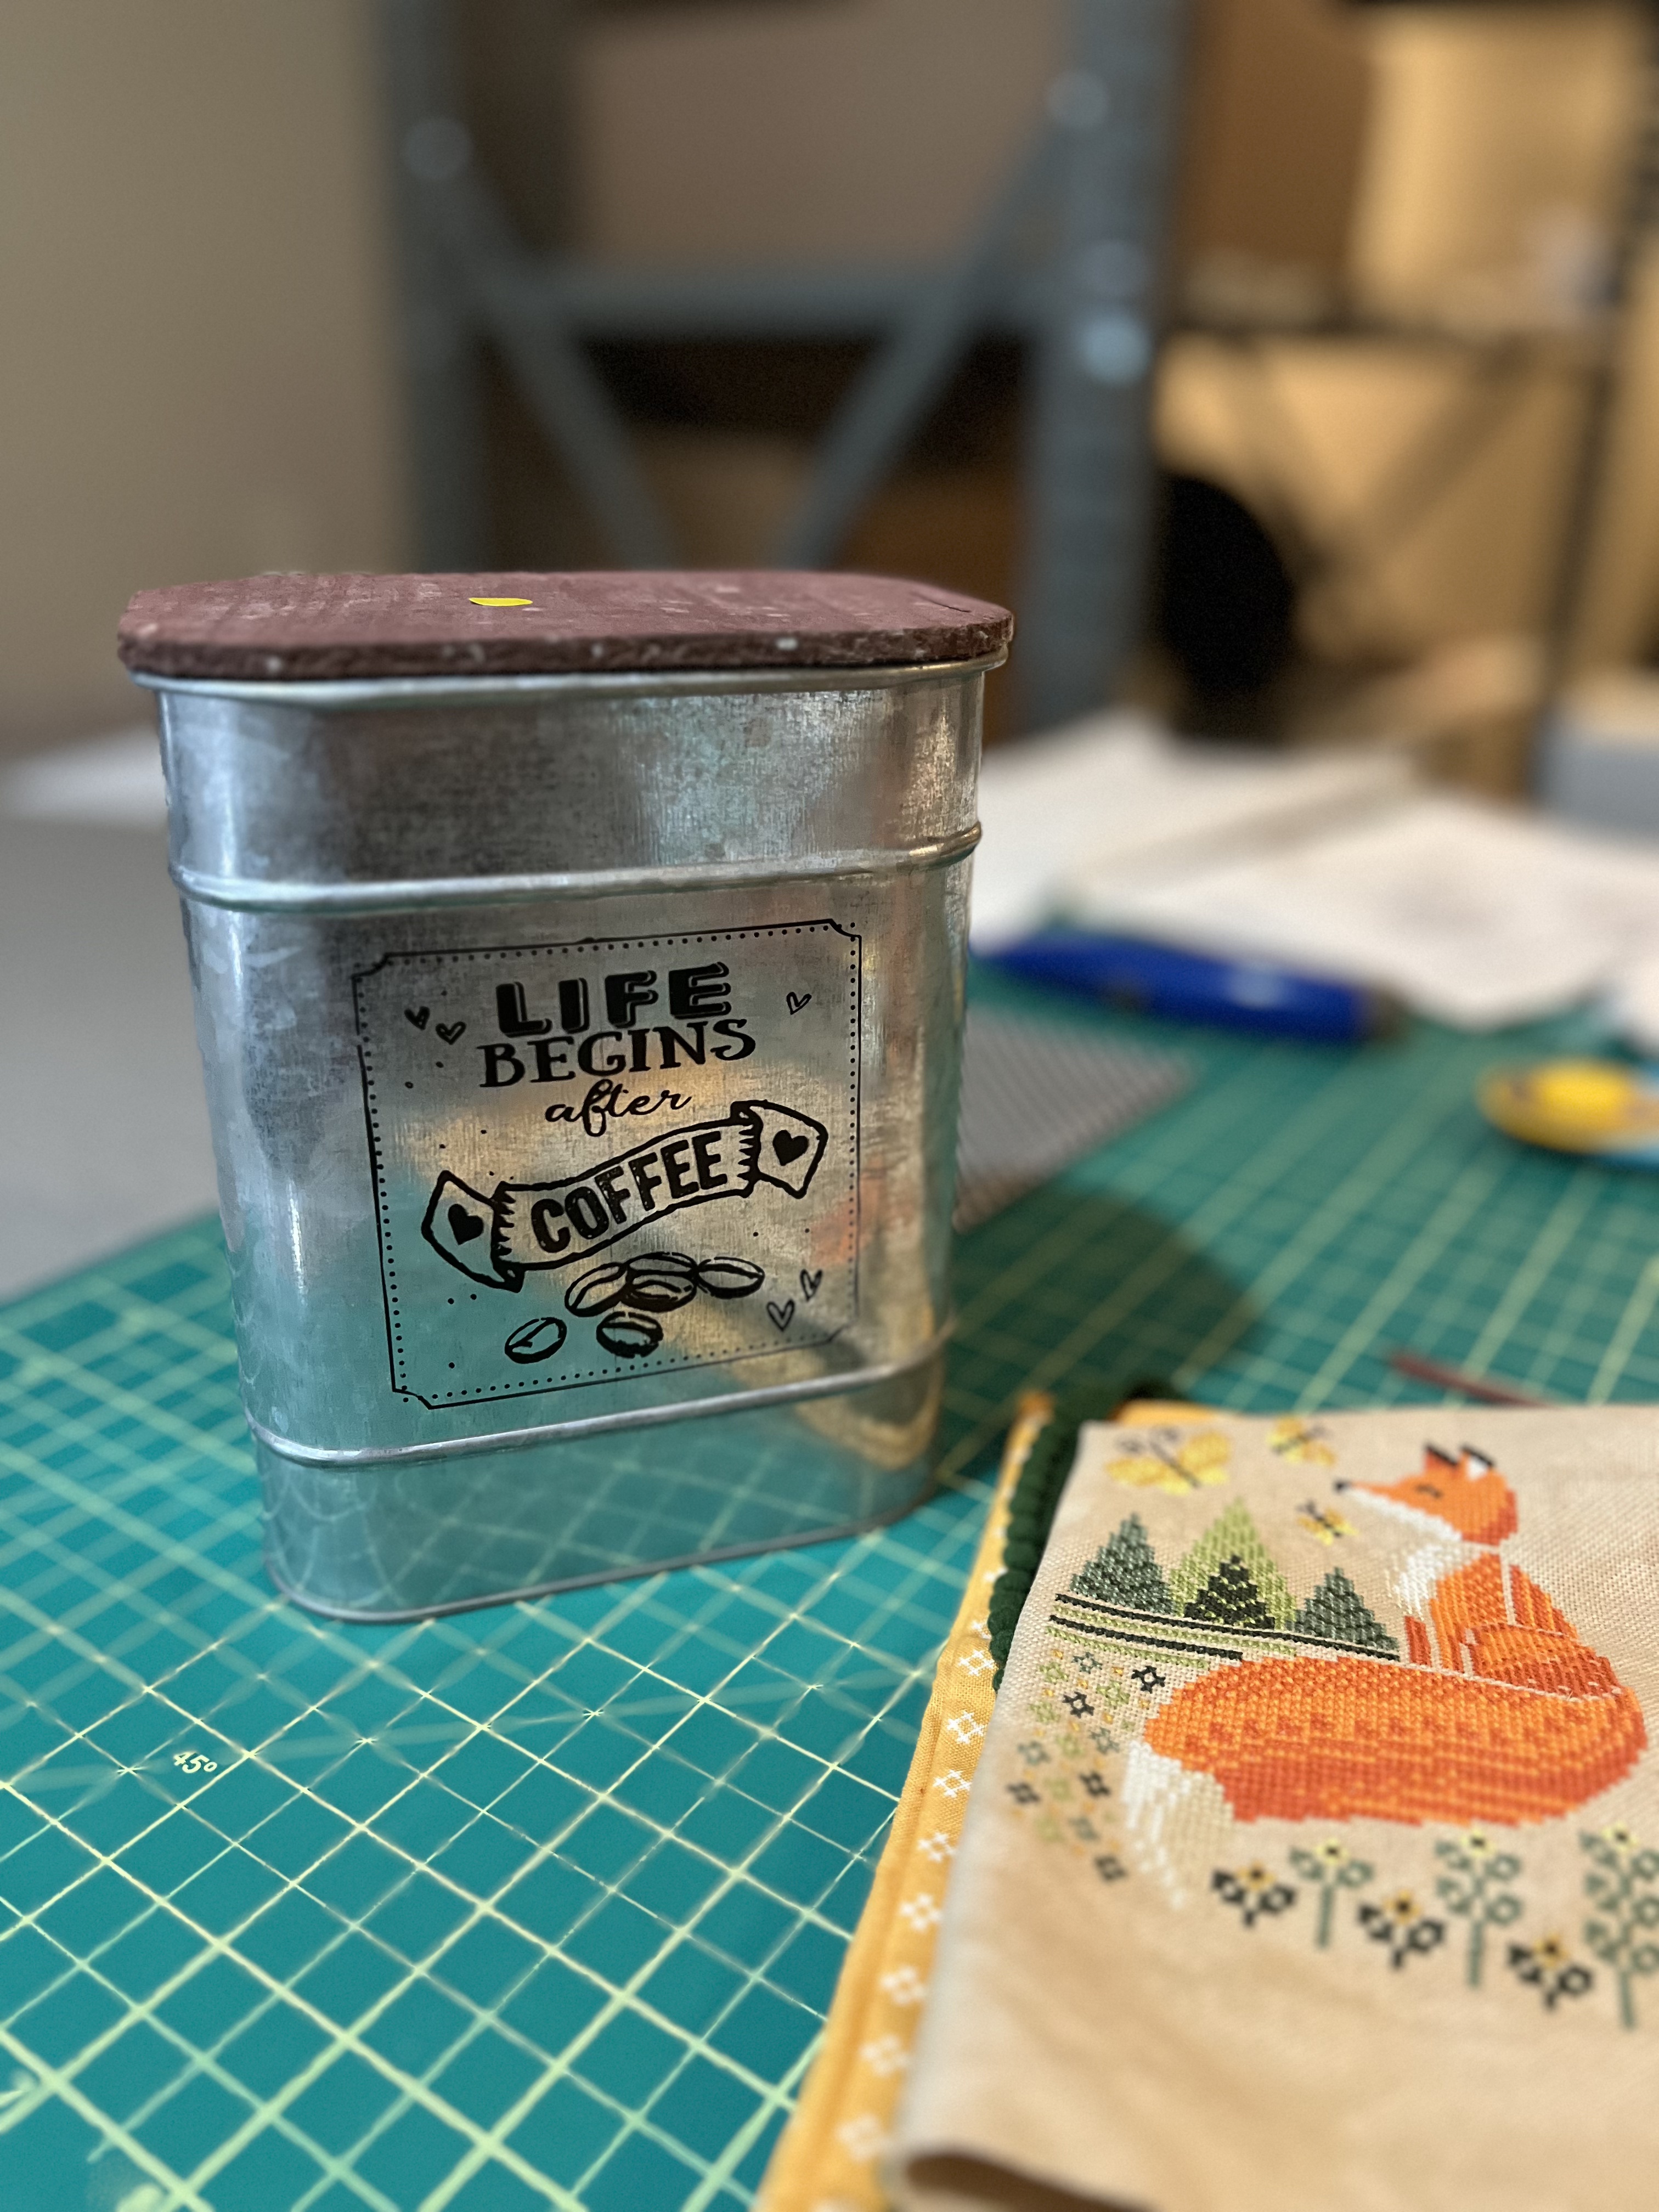
I used this decorative coffee canister from a Thrift Shop to mount the cross stitch piece on!

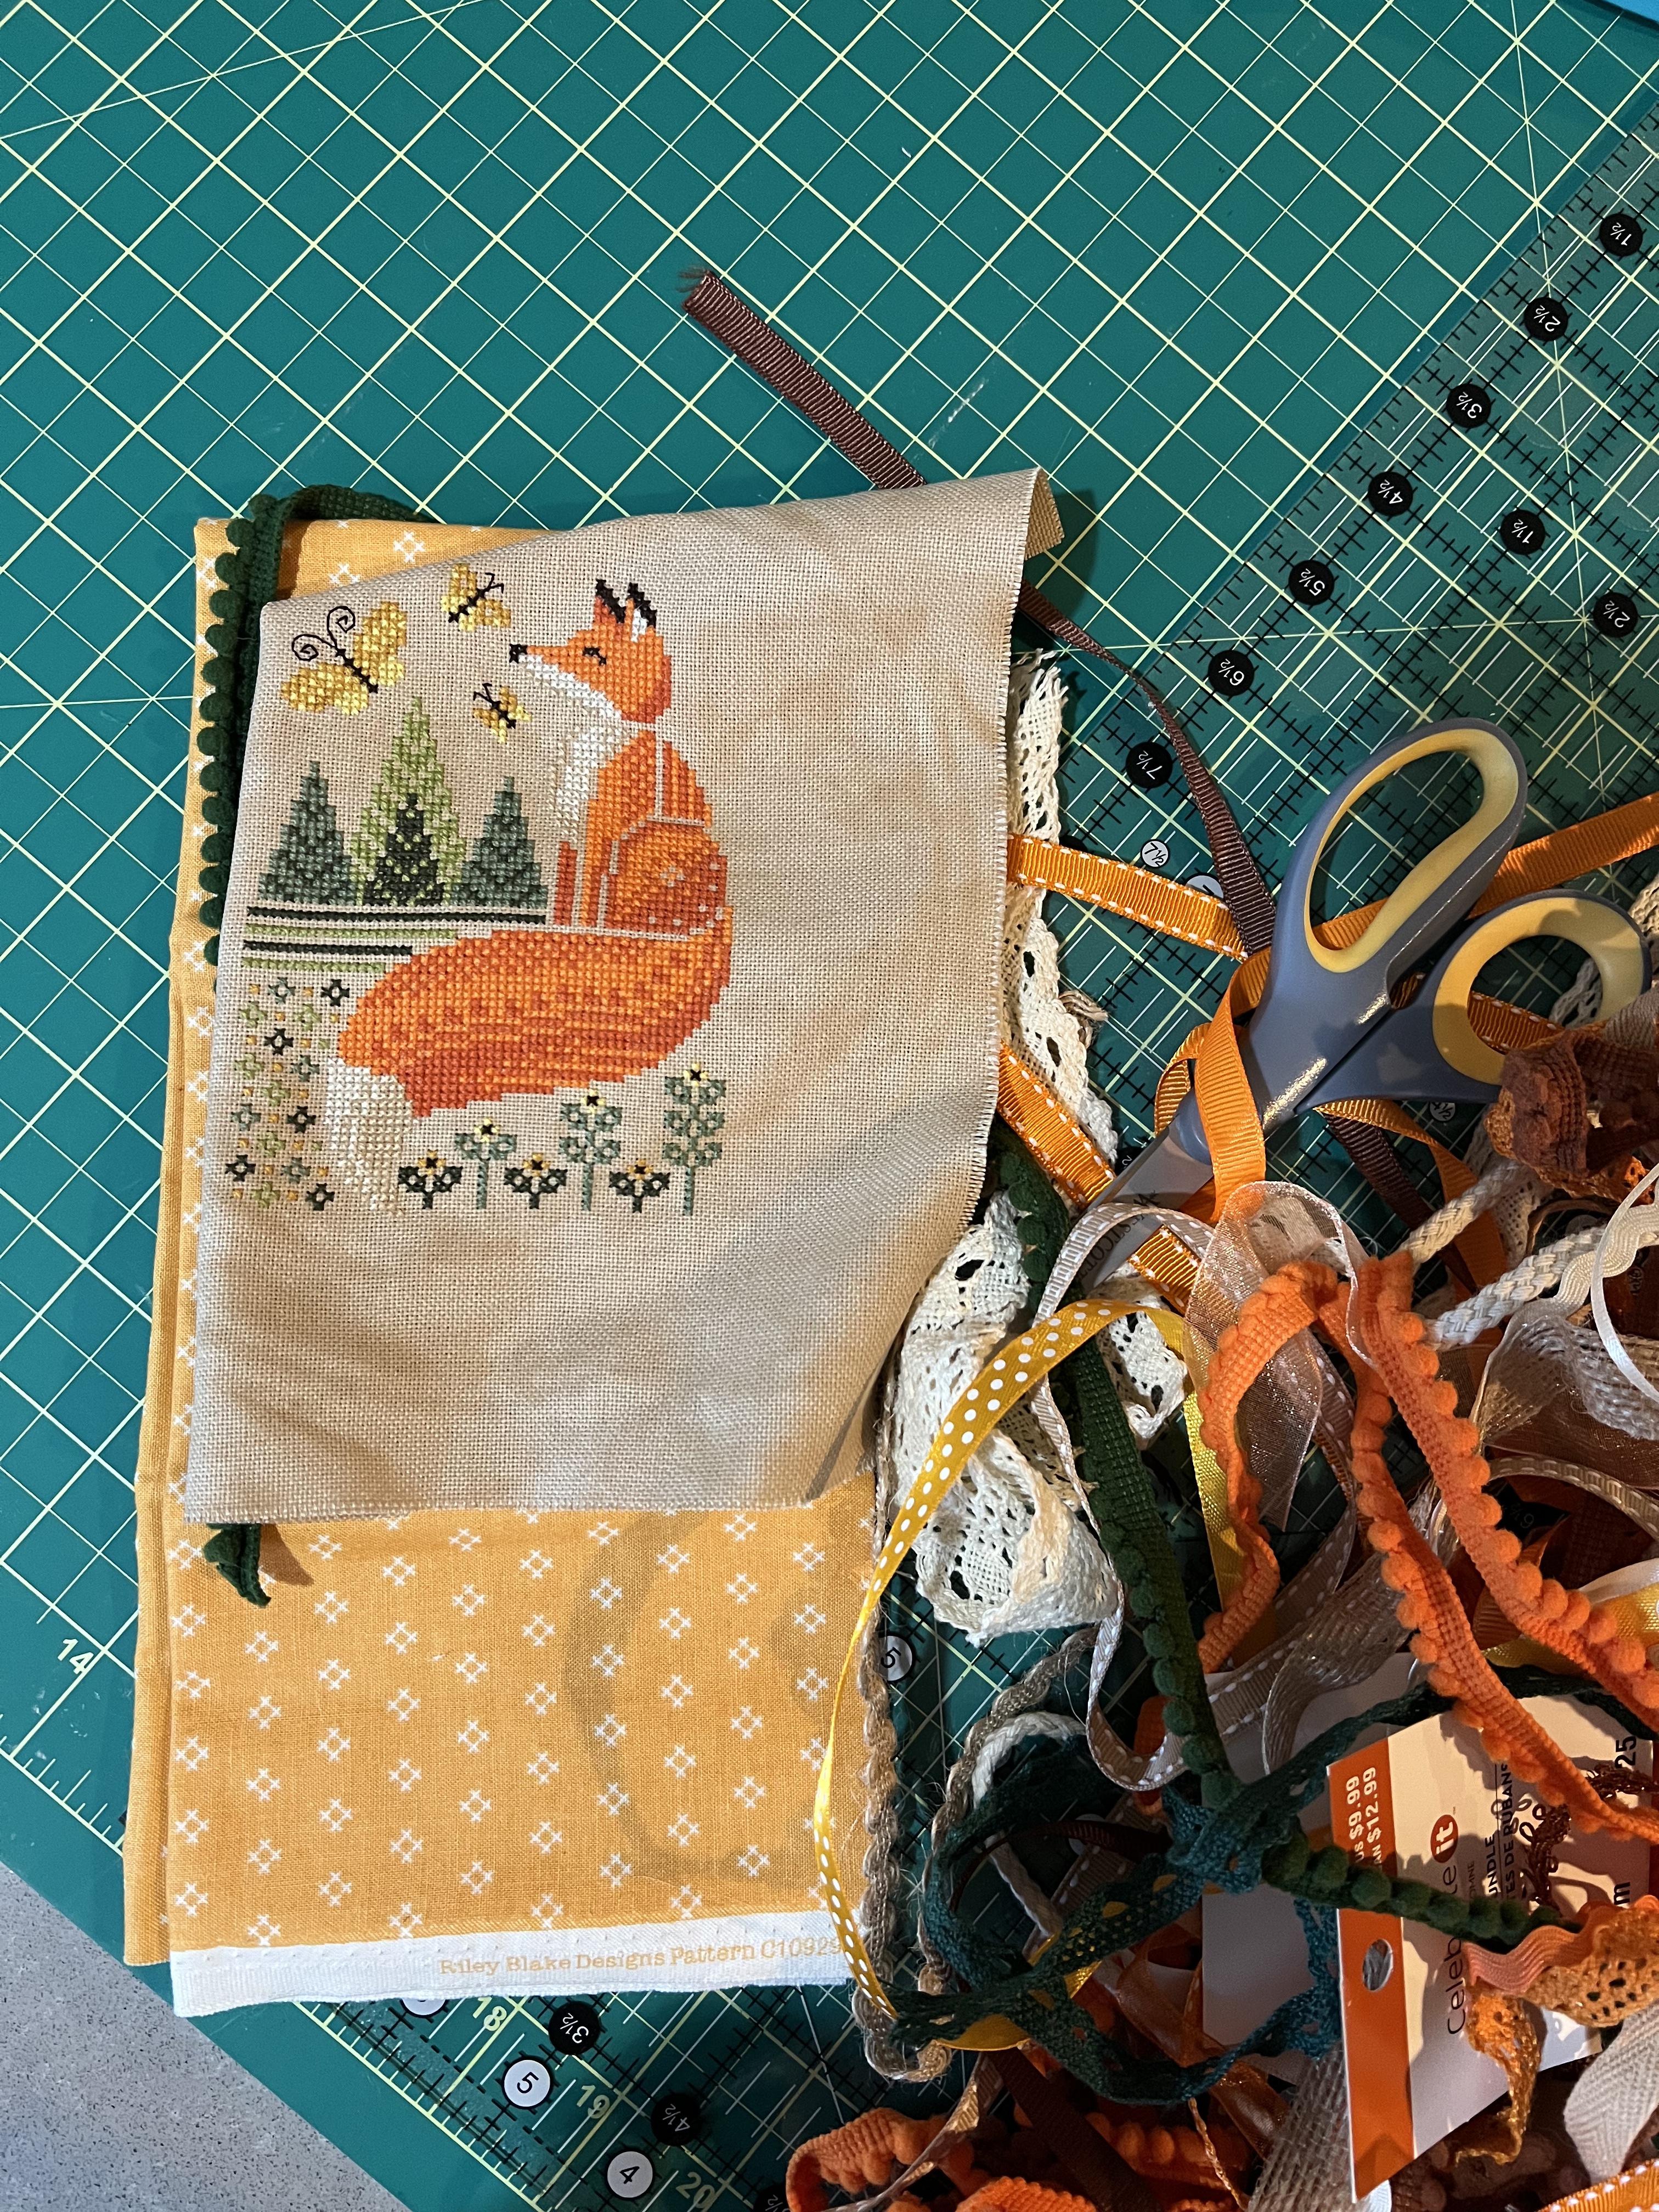
More of the creative process and all of its messiness! The fabric is by Lori Holt for Riley Blake Designs, not sure on the collection. I utilized the Michaels fall trim bundle once again, using the emerald green velvety pompom, its so good!

I finished it off with a pick of leaves from Michaels. This piece will be on display for Spring, Summer and Fall and I will just switch out the picks with the season. If I had sunflowers, I would have popped them in there for summer…but fall is coming, so leaves it is! I absolutely love it!

I hope you enjoyed seeing a little bit of the process behind how I finished these pieces and perhaps it inspires you to get some of your projects finished and on display!

Chewy Homemade Granola Bars

Perfect for back to school!

I’ve made these easy granola bars hundreds of times, and while they do take a few more minutes than grabbing a box off the shelf, the effort is well worth it.

Why? Because they’re better for you, more filling, and easier on the wallet! Plus, you get to control exactly what goes into them—no mystery ingredients! Whether you need a quick breakfast on the go or a satisfying snack to pack in lunch boxes, these granola bars have you covered. And trust me, everyone in the house will love them, not just the kids!

Chewy Homemade Granola Bars

1 cup coconut oil

1 cup brown sugar

3/4 cup honey

1 1/2 tsp vanilla extract

8 cups quick oats

4 cups Rice Krispies 

Mini chocolate chips for topping 

Makes a sheet pan.

Add coconut oil, brown sugar and honey into a large microwave safe bowl and heat in microwave in 45 second intervals, stirring in between, until oil is melted. 

Mix in vanilla and oats. The bigger the bowl the easier it is to mix!

Carefully fold in Rice Krispies until everything is evenly coated. Grease up a large baking sheet and press the mixture firmly in with hands or spatula. 

Top with desired amount of chocolate chips and press them in.

Place the baking sheet in the freezer for 15 minutes. Once it has firmed up, remove from freezer and cut into desired size of bars.

Crab Apple Crisp

 Apple Crisp has always been a go-to dessert in our house—there’s something so comforting about the warm, cinnamony goodness paired with a scoop of ice cream. But until now, I’ve never tried making it with Crab Apples. With our tree producing more than we can snack on, I decided it was time to put these tart little beauties to good use. And what better way to start than with a crisp?


Crab Apple Crisp Recipe

*disclaimer, I feel like Apple Crisp is one of those recipes you can “measure from your heart” so this recipe is roughly how I made it!

Topping:

1/2 cup flour

1/2 cup oats

1/2 cup brown sugar

1/2 tsp baking powder

1/2 tsp cinnamon

1/3 cup cold butter, diced 

Filling:

2 lbs of crab apples, peeled and sliced around the core

2 tbsp butter, melted

2 tbsp flour

2 tbsp water

1 tbsp lemon juice 

1 tsp vanilla extract 

1/4 cup brown sugar

1/2 tsp cinnamon 

Preheat oven to 375. Grease an 8×8 inch baking dish or pie pan and set aside.

In a medium mixing bowl, whisk together the dry topping ingredients. Add the diced butter and work into dry ingredients until it looks like little crumbles. I use my hands for this. 

In a small mixing bowl, whisk together melted butter and flour. Add water, lemon juice and vanilla extract and mix well. Stir in the sugar and cinnamon. 

In a large bowl add the apples and butter mixture. Toss to coat all of the apples and pour it into your baking dish, spreading evenly. 

Sprinkle to topping mixture over the top of the apples. Bake until apples are tender, about 40 minutes. 

Serve warm with ice cream!

Notes:

I use this recipe for all apple types when making crisp, I just think it’s extra special using apples right from our yard!

Our tree, loaded up with thousands of apples! Look at those poor branches sagging from the weight!
It’s a little dangerous standing underneath it…apples are falling all of the time!
Picking the apples for the crisp! I’m lazy, so I picked the biggest ones I could find so I didn’t have to peel as many!
Coated in butter and sugar and ready for the topping!
Almost done! Bubbly goodness!

This Crab Apple Crisp is best enjoyed warm with a generous scoop or two of vanilla ice cream—or if you’re like me, straight out of the pan with a spoon! I hope you enjoy this recipe as much as we do.

Let me know if you give it a try!


Summer 2024 Yard Tour

Welcome to my yard…aka, my giant work in progress! Excuse the weeds, I like to keep it real around here! Enjoy this quick little photo tour of what it looks like right now.

We have been living here for about 6 years and haven’t really touched the yard aside from general maintenance. I am excited to now have a little more time to get my hands dirty and develop this essentially blank canvas.

It will be fun to look back at these in a few years and see the changes (and what’s still the same)!

The Front Porch

My favourite outdoor space is the front porch and steps. Throughout the warm months I do a lot of “front porch sitting” while enjoying a cool drink, a good book, or working on a cross stitch project! I barely made it to the greenhouse before they closed this year so I was scrambling to put together enough flowers for a cohesive look. Good thing I love purple, because that was all that was left! The pots are looking a little leggy right now but I’m happy with how they turned out despite using “leftovers”.

The Front Yard

Two things I absolutely love about our front yard is the circular driveway and all of the giant spruce trees. We have actually been trying to get an arborist to come look at them as some of them have been going down hill lately. We lost one of the biggest ones in a bad plow wind, I would hate to loose anymore.

The front yard has a cute little storage shed that I would love to build some flower beds around.

A wider look at our circle driveway which also has more “formal” landscaping in the middle.

This area needs some serious work. Grass has taken over the flower beds to the point I think they need to be redone from scratch. Probably a project coming soon.

Side and Back Yard

I usually prioritize filling up this flower bed next to the house every year but this year got away from me. I had purchased a flat of zinnias and they were planted really late in the season so just now catching steam and starting to grow. I have also been slowly planting perennials in here. Another work in progress!

Our fire pit spot is a cozy little area that could use a lot more love! We were gifted that amazing swing for Christmas, made by long time family friends and the tailgate bench was custom made and provides the rustic vibes I love.

Although, it looks like it could use a fresh stain!

To the right and behind those two little trees was the location of our huge vegetable garden. The dirt there is amazing but unfortunately it is in a low spot and in wet years our garden would flood. Between flooding and lack of time, we chose to let the veggie gardens grow in with grass.

Lots of space and lots of grass in the back yard!

Corrals and Pasture

This might actually be my favourite spot in our yard! I am slowly developing corrals and a place to keep and ride my horses. For now I have two wind panels for protection from the weather, a few regular panels for a pen, and also utilizing electric fence to take advantage of the abundant grazing we have available.

Love this little alley between the trees and fence…sometimes it’s the little things!

Our back yard view looking out towards the pasture and hay fields. This has my heart!

Looking towards the corrals and pasture from our driveway. Would love to build a little barn up there someday and an arena to the right side where the bale is sitting! There is currently an old torn down granary in the long grass in the pic (you can kind of see the top of the roof). That will be one of many projects we need to get done before the snow falls!

Thanks so much for stopping by and taking a little photo tour of my yard. I truly love it just how it is, but I am excited to tackle some projects and add more personal touches to it as well. Stay tuned for the updates!

If you have any tips on reviving old flower beds or have some dos and don’ts of developing a big yard like this I would love to hear them!