Category Archives: Recipes

Kimberley’s Fav Chocolate Chip Cookies

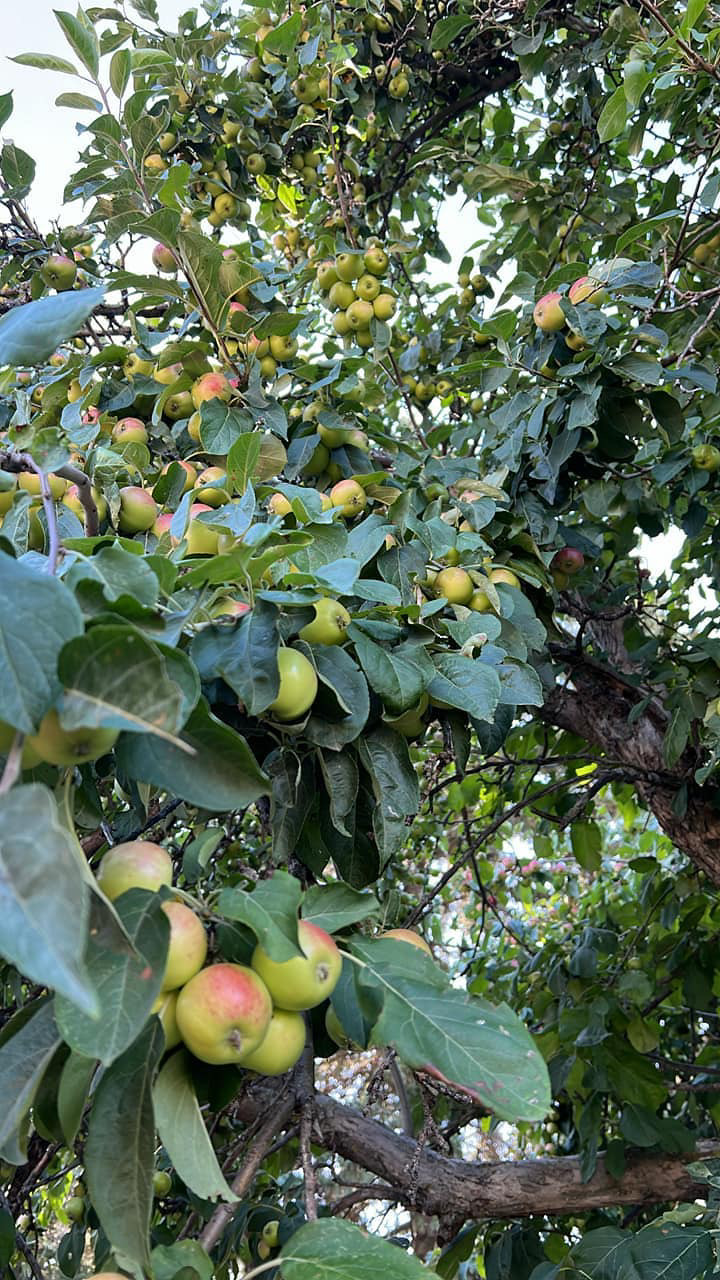
It’s officially fall, which typically means pumpkin everything, but I would be remiss not to share the most frequently baked item in our house: my absolute favourite chocolate chip cookies.

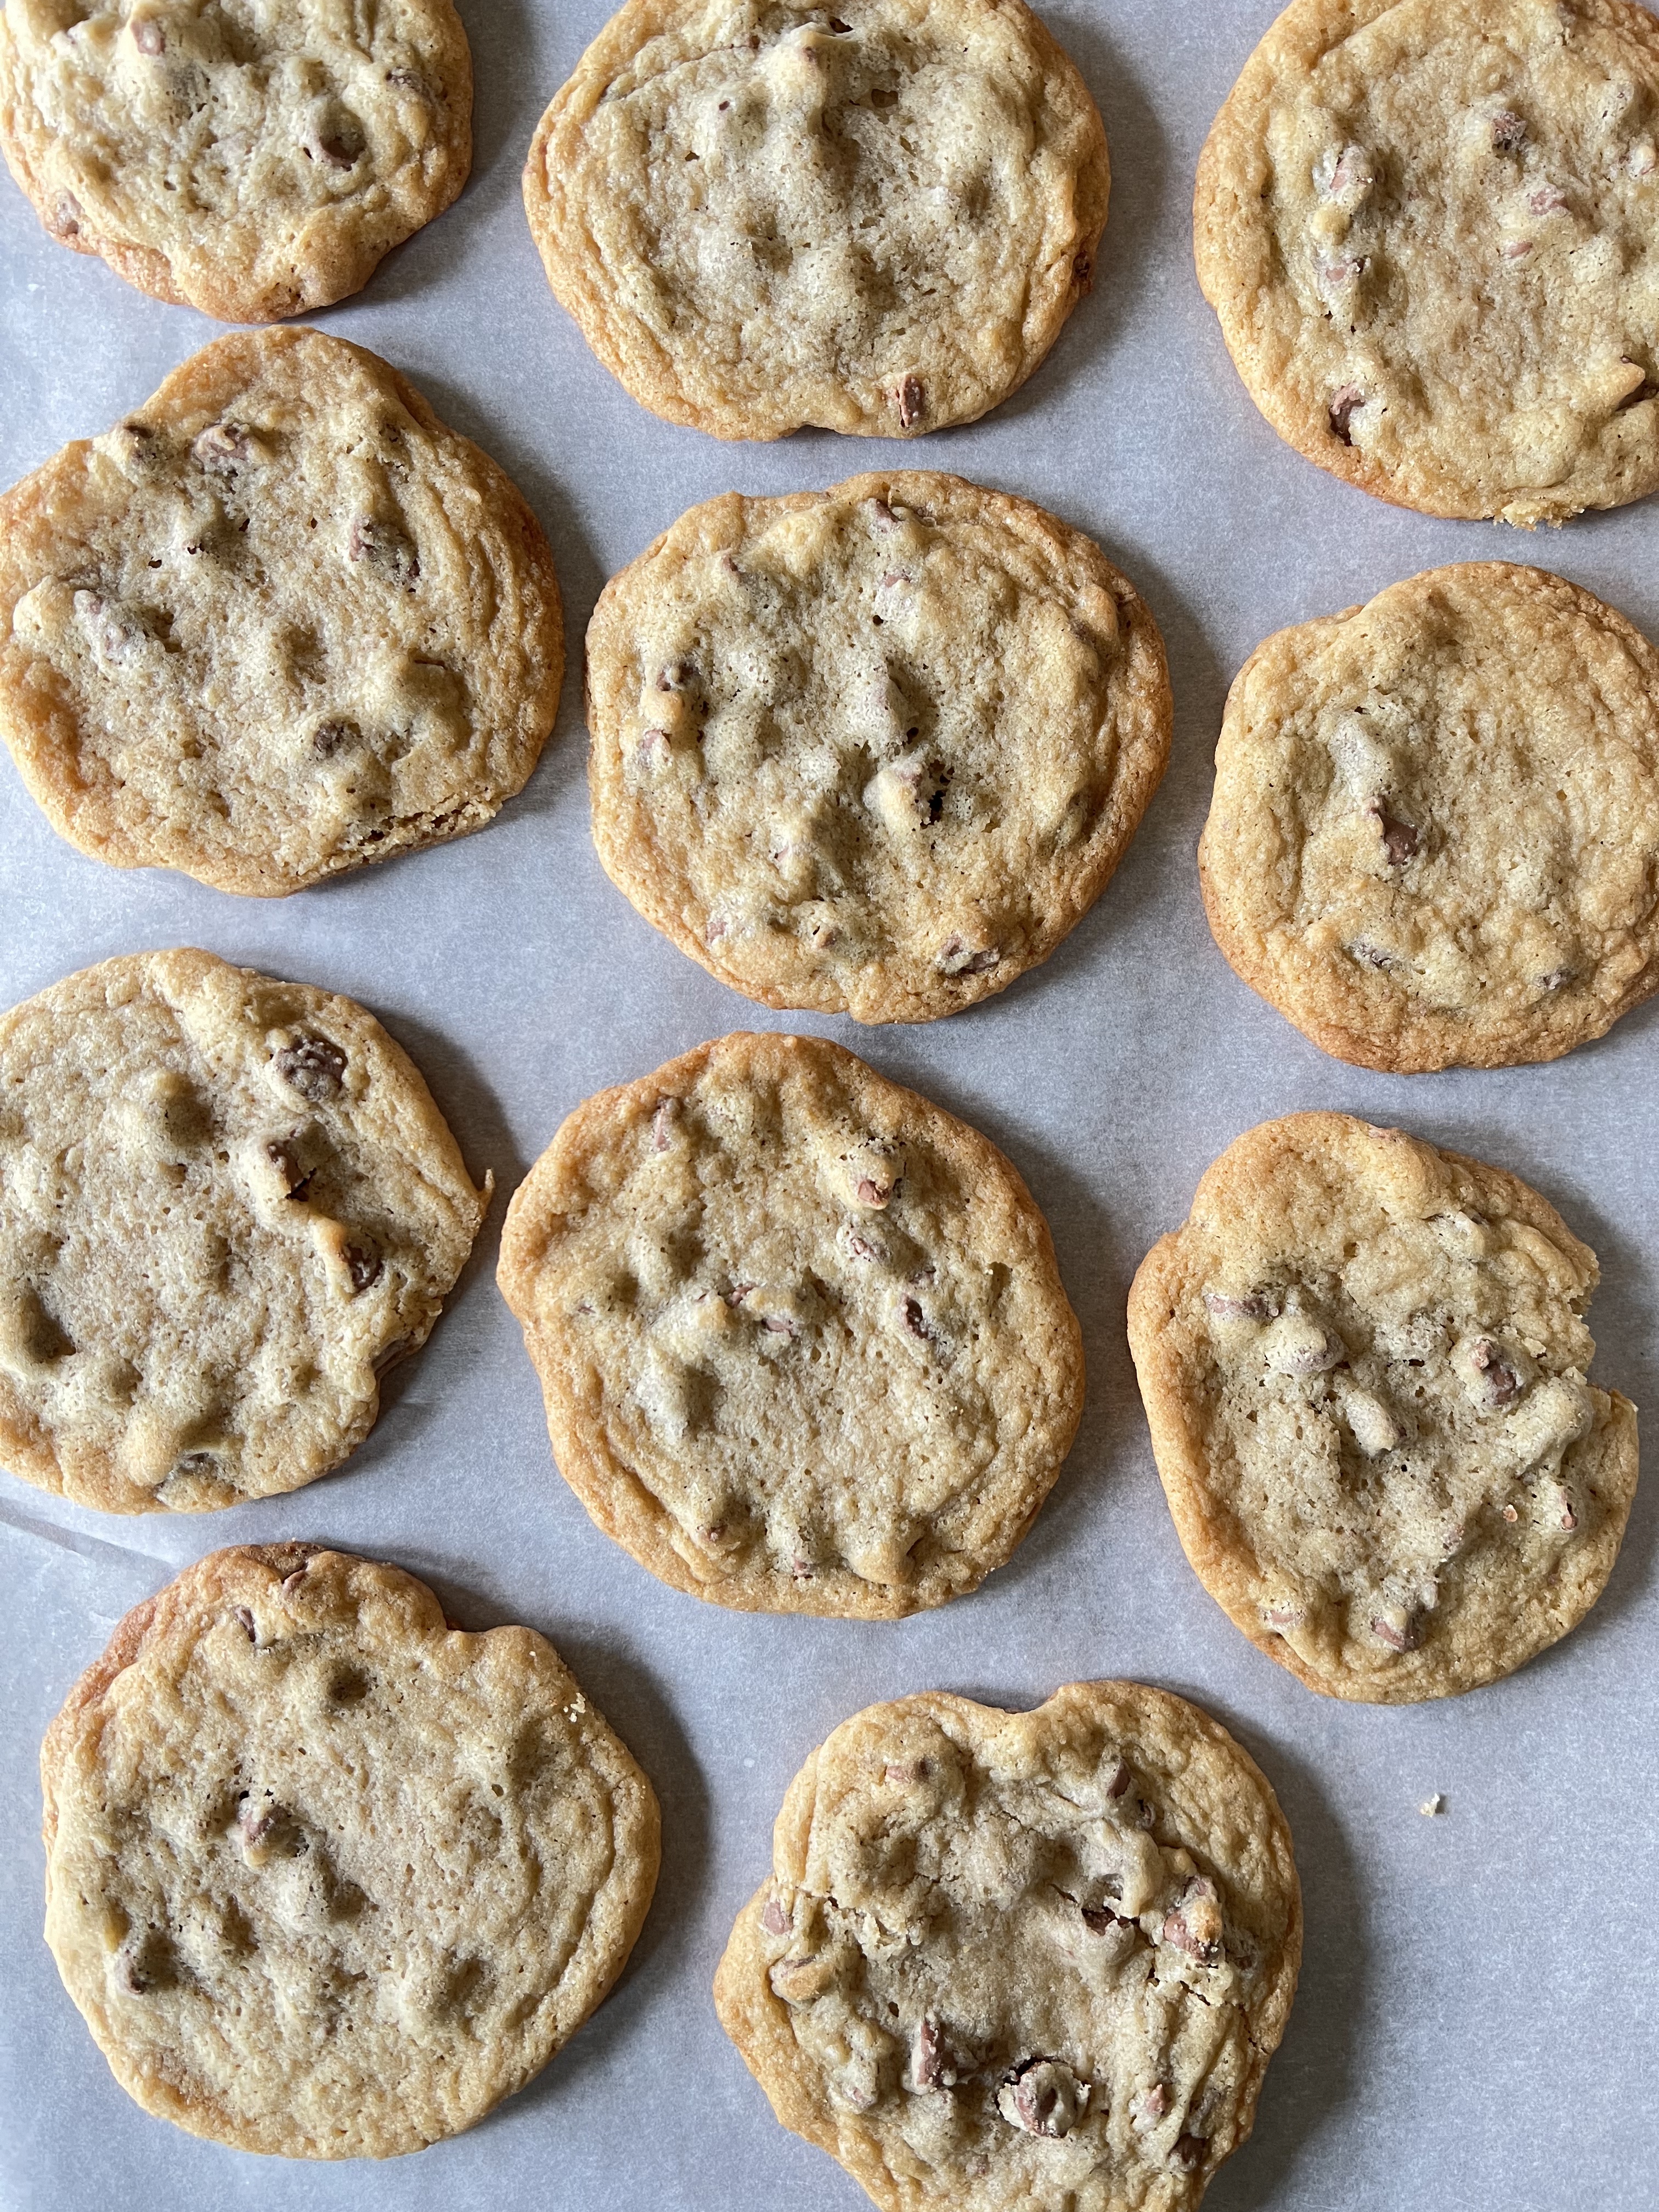
Honestly, these cookies don’t scream fall, nor are they the most photogenic…but they are an all-year-round favourite. Rain or shine, cold or warm, they’re the one thing that gets whipped up more often than not in our house. If you’re anything like me and love a good classic, you’ll want to save this one.

These cookies are soft in the middle with crisp edges, perfectly sweet without being over the top, and packed with just the right amount of chocolate chips in every bite. It’s simple, it’s classic, and it’s hard to have just one (which may or may not be a bad thing)!

Happy baking!

Kimberley’s Fav Chocolate Chip Cookies

Ingredients

  • 1 1/2 cups (340g) butter, softened
  • 1 1/2 cups (300g) packed light brown sugar
  • 1 cup (200g) granulated sugar
  • 2 large eggs + 1 egg yolk, at room temperature
  • 2 teaspoons pure vanilla extract
  • 4 cups (500g) all-purpose flour (spooned and leveled)
  • 1 teaspoon baking soda
  • 2 teaspoons cornstarch
  • 1/2 teaspoon baking powder
  • 1/2 teaspoon salt
  • 3 cups (510g) milk chocolate chips

Instructions

  1. Preheat Oven: Preheat your oven to 350°F. Line two or three large baking sheets with parchment paper.
  2. Cream Butter & Sugars: In a large bowl, using a stand mixer or hand mixer, cream together the softened butter, brown sugar, and granulated sugar on medium speed until light and fluffy, about 3 minutes.
  3. Add Eggs & Vanilla: Add the eggs, one at a time, beating well after each addition. Then add the egg yolk and vanilla extract, mixing until fully combined.
  4. Mix Dry Ingredients: In a separate bowl, whisk together the flour, baking soda, cornstarch, baking powder, and salt.
  5. Combine Wet & Dry Ingredients: Gradually add the dry ingredients to the wet ingredients, mixing on low speed until just combined. Be careful not to over-mix the dough.
  6. Fold in Chocolate Chips: Using a spatula or wooden spoon, fold in the chocolate chips until evenly distributed throughout the dough. (I use my stand mixer on the lowest speed to do this step).
  7. Chill the Dough (Optional): For thicker cookies, chill the dough in the refrigerator for at least 30 minutes. This step is optional but recommended.
  8. Form Cookies: Roll the dough into balls, using about 2 tablespoons of dough per cookie. Place them on the prepared baking sheets, spacing them about 2 inches apart.
  9. Bake: Bake in the preheated oven for 10-12 minutes, or until the edges are set and lightly golden, but the centers are still soft and slightly under-baked.
  10. Cool: Allow the cookies to cool on the baking sheets for 5 minutes before transferring them to a wire rack to cool completely.

Kimberley’s Tips:

  • Room Temperature Ingredients: Make sure your butter, eggs, and egg yolk are at room temperature for the best texture.
  • Chilling the Dough: Chilling helps control the spread of the cookies and enhances flavor. For a more intense flavor, chill the dough for up to 24 hours.
  • Don’t Overbake: The cookies will continue to cook as they cool on the baking sheet, so take them out of the oven when they look slightly underdone in the center.
  • Yield: This recipe makes about 36 cookies, I like to make a big batch!

Pumpkin Spice Caramel Popcorn

This recipe strikes the perfect balance between sweetness and spice, with a crunchy caramel coating you can’t resist!

It’s Pumpkin Spice season! I know, I know…it feels so overdone, but lets be honest, everything tastes better with this cozy blend of spices!

I used to make Caramel Popcorn by the bucket load to sell at our local men’s baseball games…go Giants! This is the same recipe but with a yummy fall twist.

It’s crunchy, perfectly sweet, with just the right touch of autumn flavour. Pair it with a cozy evening curled up on the couch watching your fav chick flick or Halloween movie!

Enjoy this spiced caramel goodness. Bonus, your house smells amazing while is baking!

Pumpkin Spice Caramel Popcorn

  • 1/2 cup popcorn kernels (about 10 – 12 cups popped)
  • 1 cup salted butter
  • 1 cup light brown sugar, packed
  • 1/4 cup light corn syrup
  • 2 tsp pumpkin pie spice (I used Club House)
  • 1/4 tsp salt
  • 1 tsp vanilla extract
  • 1/4 tsp baking soda

Preheat your oven to 250 Fahrenheit and line two baking sheets with parchment paper.

Pop the popcorn and set aside in a large bowl.

In a saucepan, melt butter, corn syrup, salt, and pumpkin pie spice. Stir and bring the mixture to a boil, then let boil for 4 minutes without stirring.

Remove from heat and stir in vanilla extract and baking soda until the mixture becomes foamy.

Immediately pour the caramel over the popcorn and toss to coat evenly.

Spread the coated popcorn on the baking sheets and bake for 1 hour, stirring every 15 minutes for even crispiness.

Remove from the oven and let popcorn cool completely.

Store in an airtight container once cooled.

Chewy Homemade Granola Bars

Perfect for back to school!

I’ve made these easy granola bars hundreds of times, and while they do take a few more minutes than grabbing a box off the shelf, the effort is well worth it.

Why? Because they’re better for you, more filling, and easier on the wallet! Plus, you get to control exactly what goes into them—no mystery ingredients! Whether you need a quick breakfast on the go or a satisfying snack to pack in lunch boxes, these granola bars have you covered. And trust me, everyone in the house will love them, not just the kids!

Chewy Homemade Granola Bars

1 cup coconut oil

1 cup brown sugar

3/4 cup honey

1 1/2 tsp vanilla extract

8 cups quick oats

4 cups Rice Krispies 

Mini chocolate chips for topping 

Makes a sheet pan.

Add coconut oil, brown sugar and honey into a large microwave safe bowl and heat in microwave in 45 second intervals, stirring in between, until oil is melted. 

Mix in vanilla and oats. The bigger the bowl the easier it is to mix!

Carefully fold in Rice Krispies until everything is evenly coated. Grease up a large baking sheet and press the mixture firmly in with hands or spatula. 

Top with desired amount of chocolate chips and press them in.

Place the baking sheet in the freezer for 15 minutes. Once it has firmed up, remove from freezer and cut into desired size of bars.

Crab Apple Crisp

 Apple Crisp has always been a go-to dessert in our house—there’s something so comforting about the warm, cinnamony goodness paired with a scoop of ice cream. But until now, I’ve never tried making it with Crab Apples. With our tree producing more than we can snack on, I decided it was time to put these tart little beauties to good use. And what better way to start than with a crisp?


Crab Apple Crisp Recipe

*disclaimer, I feel like Apple Crisp is one of those recipes you can “measure from your heart” so this recipe is roughly how I made it!

Topping:

1/2 cup flour

1/2 cup oats

1/2 cup brown sugar

1/2 tsp baking powder

1/2 tsp cinnamon

1/3 cup cold butter, diced 

Filling:

2 lbs of crab apples, peeled and sliced around the core

2 tbsp butter, melted

2 tbsp flour

2 tbsp water

1 tbsp lemon juice 

1 tsp vanilla extract 

1/4 cup brown sugar

1/2 tsp cinnamon 

Preheat oven to 375. Grease an 8×8 inch baking dish or pie pan and set aside.

In a medium mixing bowl, whisk together the dry topping ingredients. Add the diced butter and work into dry ingredients until it looks like little crumbles. I use my hands for this. 

In a small mixing bowl, whisk together melted butter and flour. Add water, lemon juice and vanilla extract and mix well. Stir in the sugar and cinnamon. 

In a large bowl add the apples and butter mixture. Toss to coat all of the apples and pour it into your baking dish, spreading evenly. 

Sprinkle to topping mixture over the top of the apples. Bake until apples are tender, about 40 minutes. 

Serve warm with ice cream!

Notes:

I use this recipe for all apple types when making crisp, I just think it’s extra special using apples right from our yard!

Our tree, loaded up with thousands of apples! Look at those poor branches sagging from the weight!
It’s a little dangerous standing underneath it…apples are falling all of the time!
Picking the apples for the crisp! I’m lazy, so I picked the biggest ones I could find so I didn’t have to peel as many!
Coated in butter and sugar and ready for the topping!
Almost done! Bubbly goodness!

This Crab Apple Crisp is best enjoyed warm with a generous scoop or two of vanilla ice cream—or if you’re like me, straight out of the pan with a spoon! I hope you enjoy this recipe as much as we do.

Let me know if you give it a try!